One of the questions I am asked most often is how did I learn how to do this? The truth is, like anything I do, I just taught myself through trial and error. I always try to learn from past mistakes and envision how I would want something made if it were being made for me. After well over 10 years in leather working I’m pretty confident that while my leather working methods may not be the same as others, the end result is a product that I am proud to sell and hope you will be proud to own.
The purpose of this page is not to show you how to make leather goods, but an abbreviated version of the steps every PirtleMade sheath goes through before it is sent to the new owner. Sheaths spend 7-10 days on my bench and the process is never rushed and no shortcuts are taken to rush orders out the door. I still do much of the work by hand and only add modern equipment into the process when it improves the end results.
All of my patterns are hand drawn and cut from heavy foam.
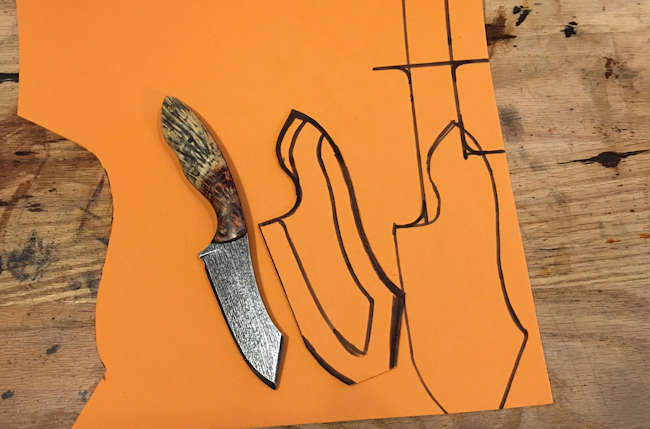
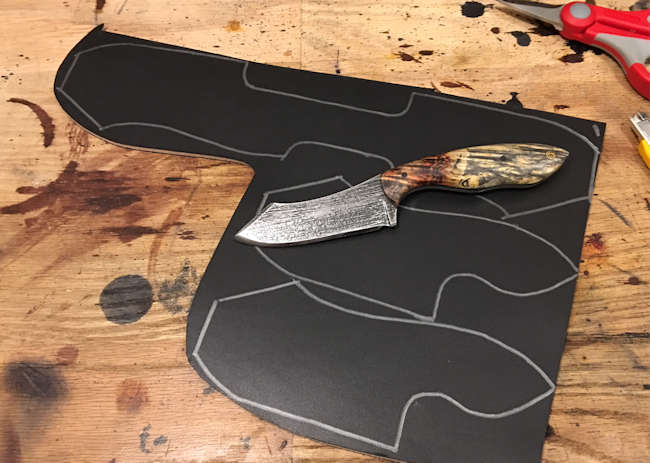
Next they are transferred to the best quality American hide, and cut out by hand.
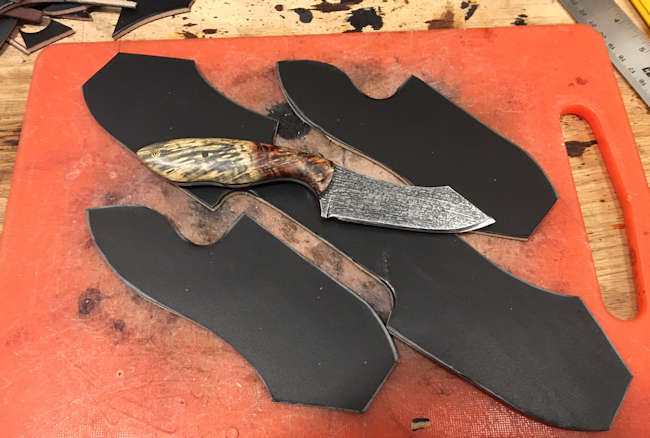
Any stamping is done and the internal welt is cut out to match the knife. This is also the first step in finishing the edges, they are trued up and rounded.
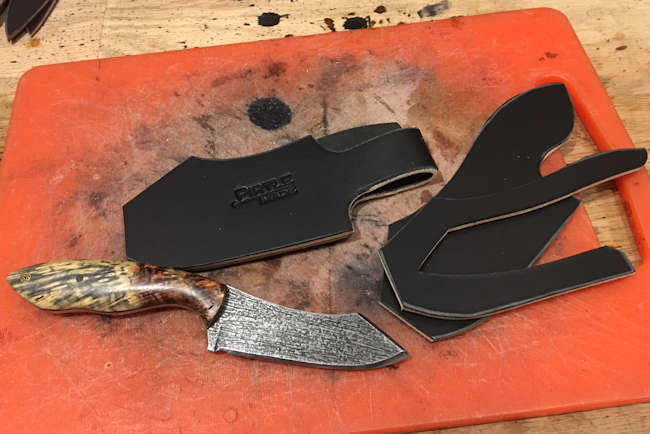
This sheath was trimmed in shark skin, so a piece was selected and laminated to the hide.
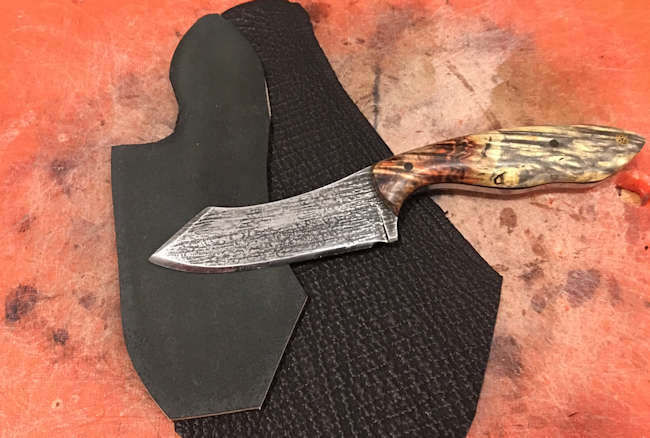
Another step of edge cleanup is performed and the pieces are glued together using the best glue available to leather workers.
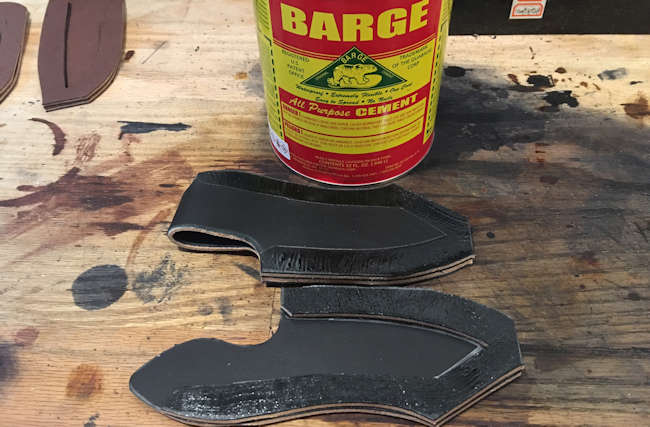
After gluing, all edges are aligned.
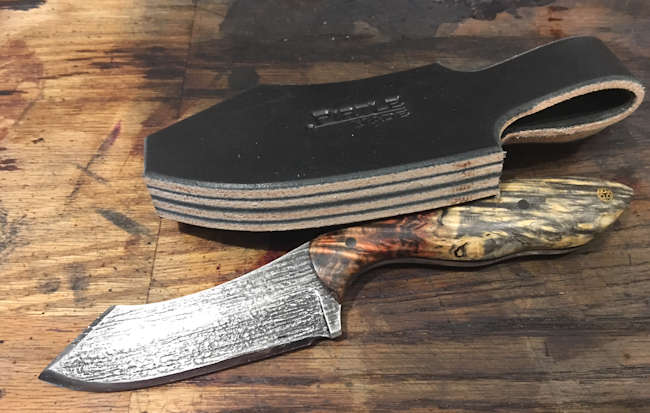
The main sheath edges are slightly rounded and the final stitching is done.
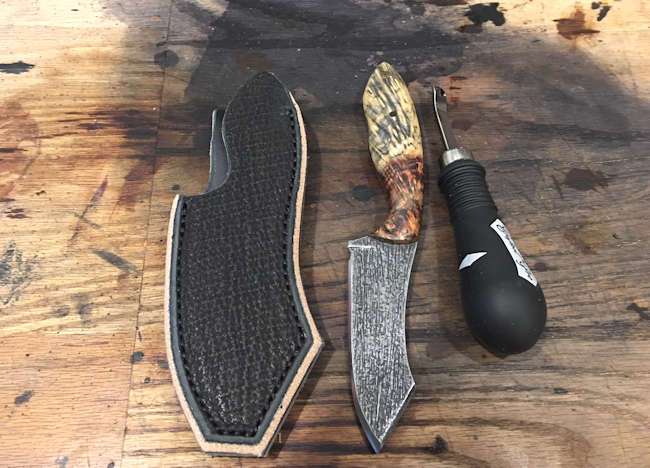
Using a propriety mix of water and a few key ingredients the sheath is soaked then wet molded around the actual knife. The first steps of edge polishing are also done now.
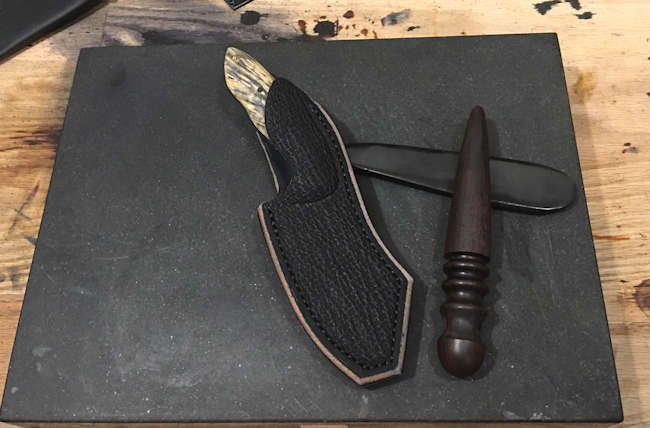
After drying the sheath is oiled and more edge polishing is performed.
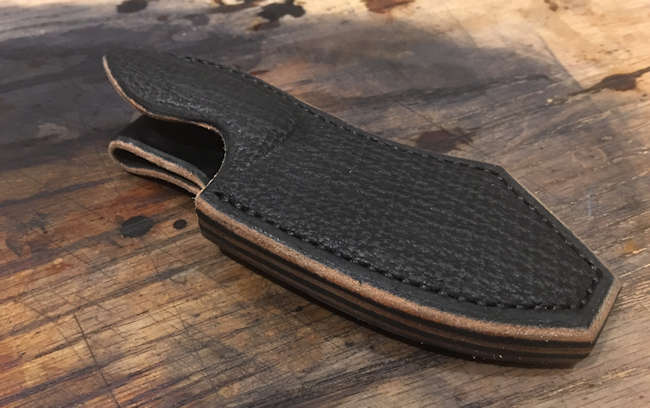
Once the oils have fully absorbed into the leather, the edges are dyed with top grade oil based leather dye and the last of the edge polishing takes place.
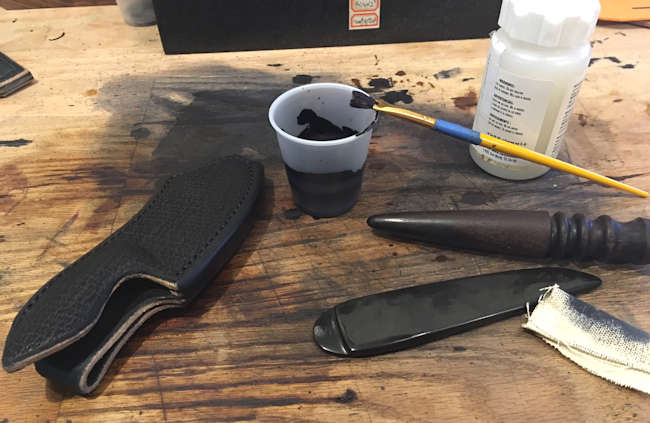
The final touch is application of penetrating Acrylic finish inside and out, in an 8-10 step process.
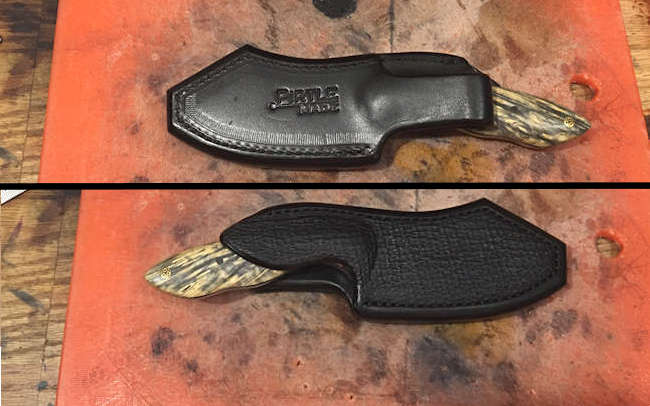
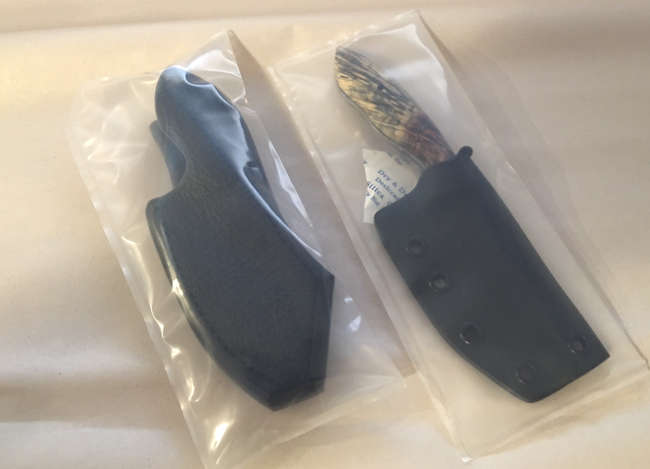
Once the finish is fully cured the sheath is packaged with desiccant for shipment to it’s final home.
** Special thanks to Aaron Galasso for letting me use his beautiful custom blade for this page.
